Deploy your first application
This tutorial will demonstrate the entry-level usage experience of Rainbond. By deploying the classic 2048 game, it will help you quickly understand the basic functions and operation process of Rainbond.
Preconditions
- Completed Rainbond Quick Installation
- No additional configuration required, ready to use out of the box
Deploy 2048 Game
🚀 Highlights
- Zero-configuration Build: Automatically detect language type, no need to manually write build scripts
- Gateway Integration: Automatically generate access domain names, no additional gateway configuration required
🧩 Operation Process
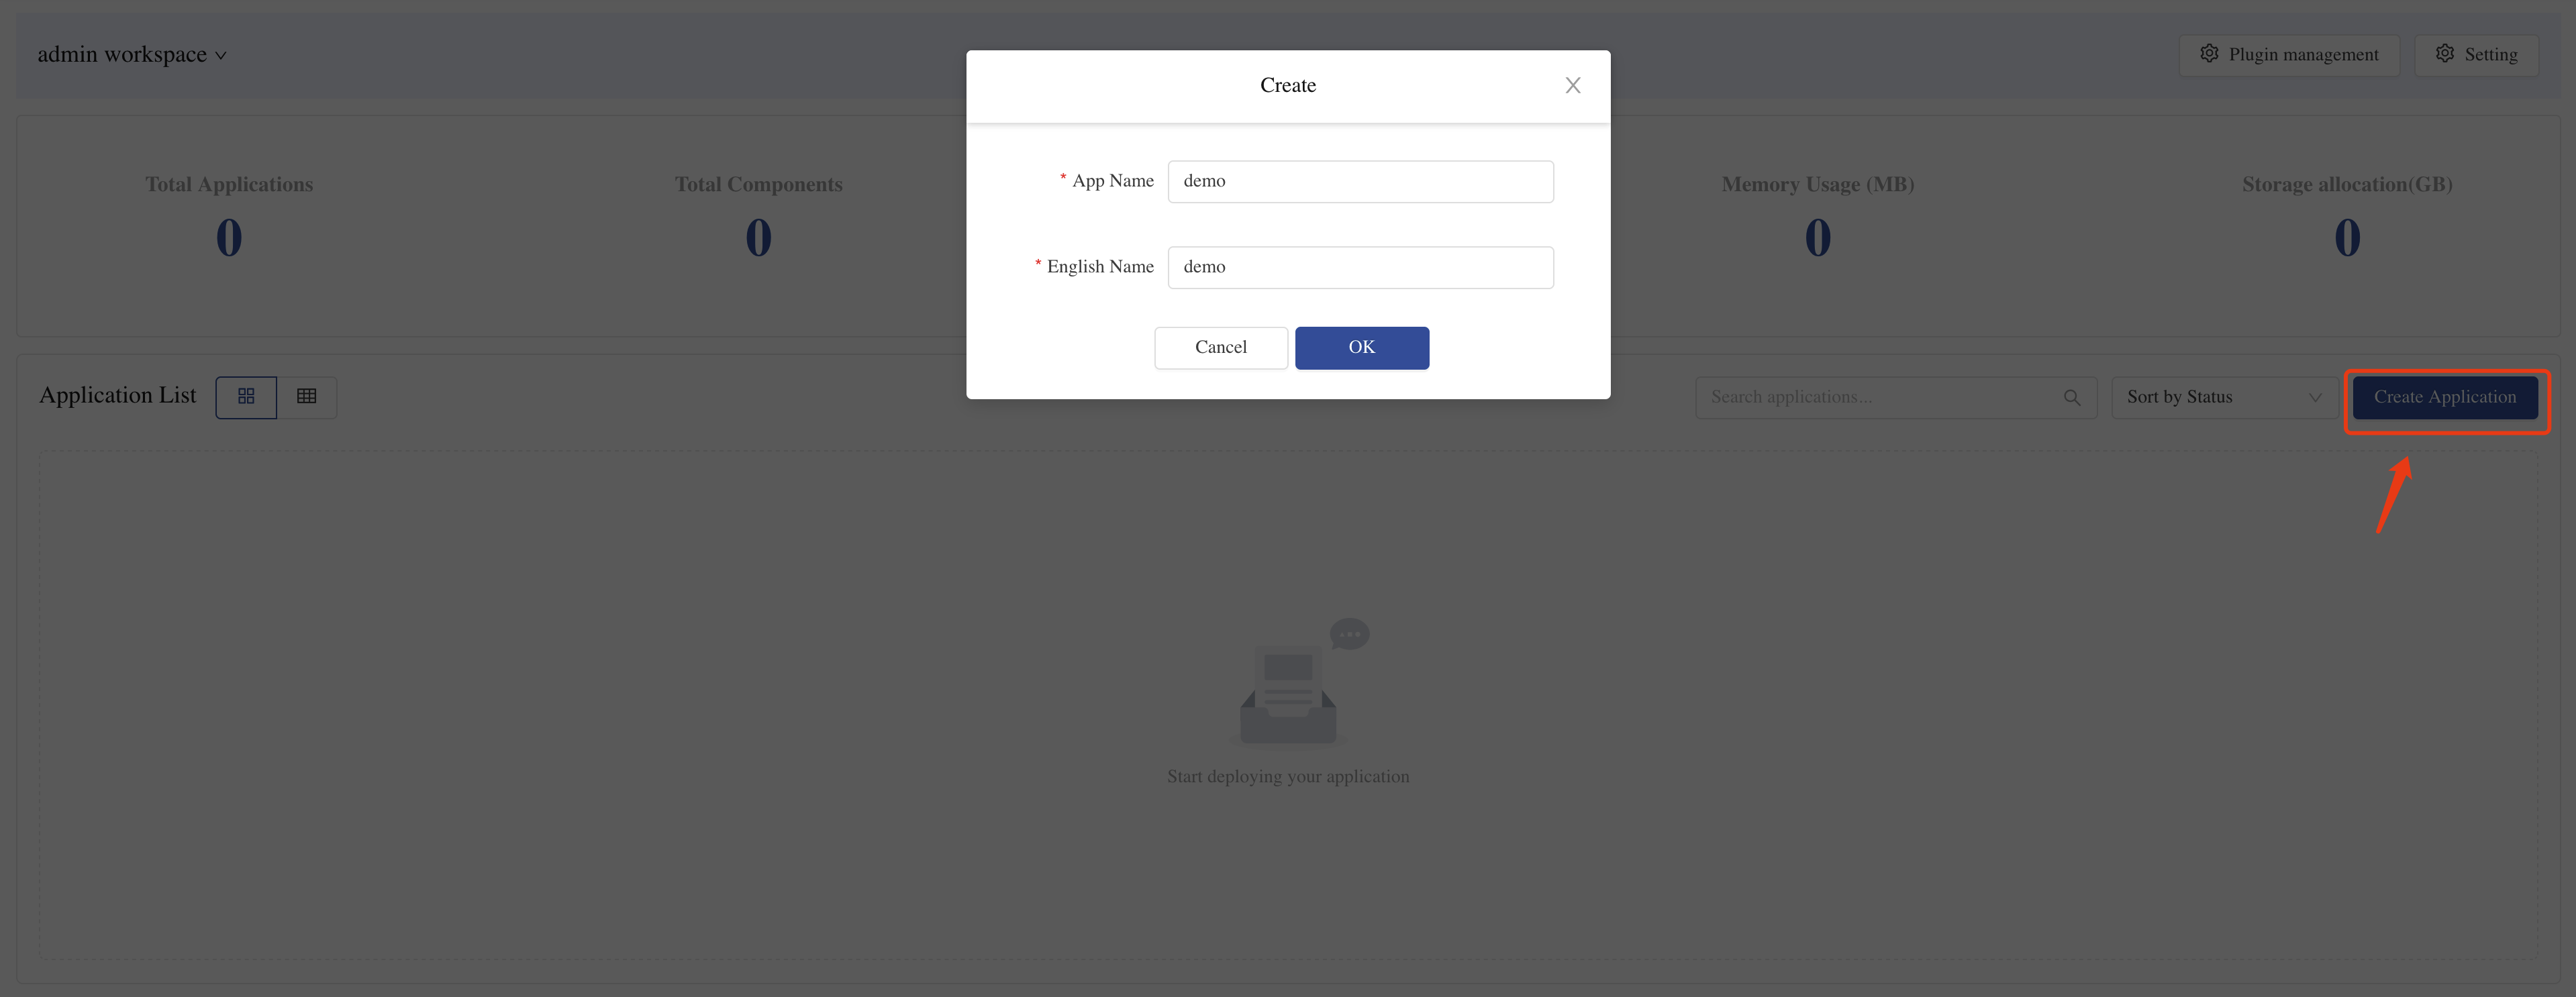
- Create Application and Source Component
- Enter the target Team View ➡️ Create Application.
- Select Build from Source Code ➡️ Source Code, fill in the following information:
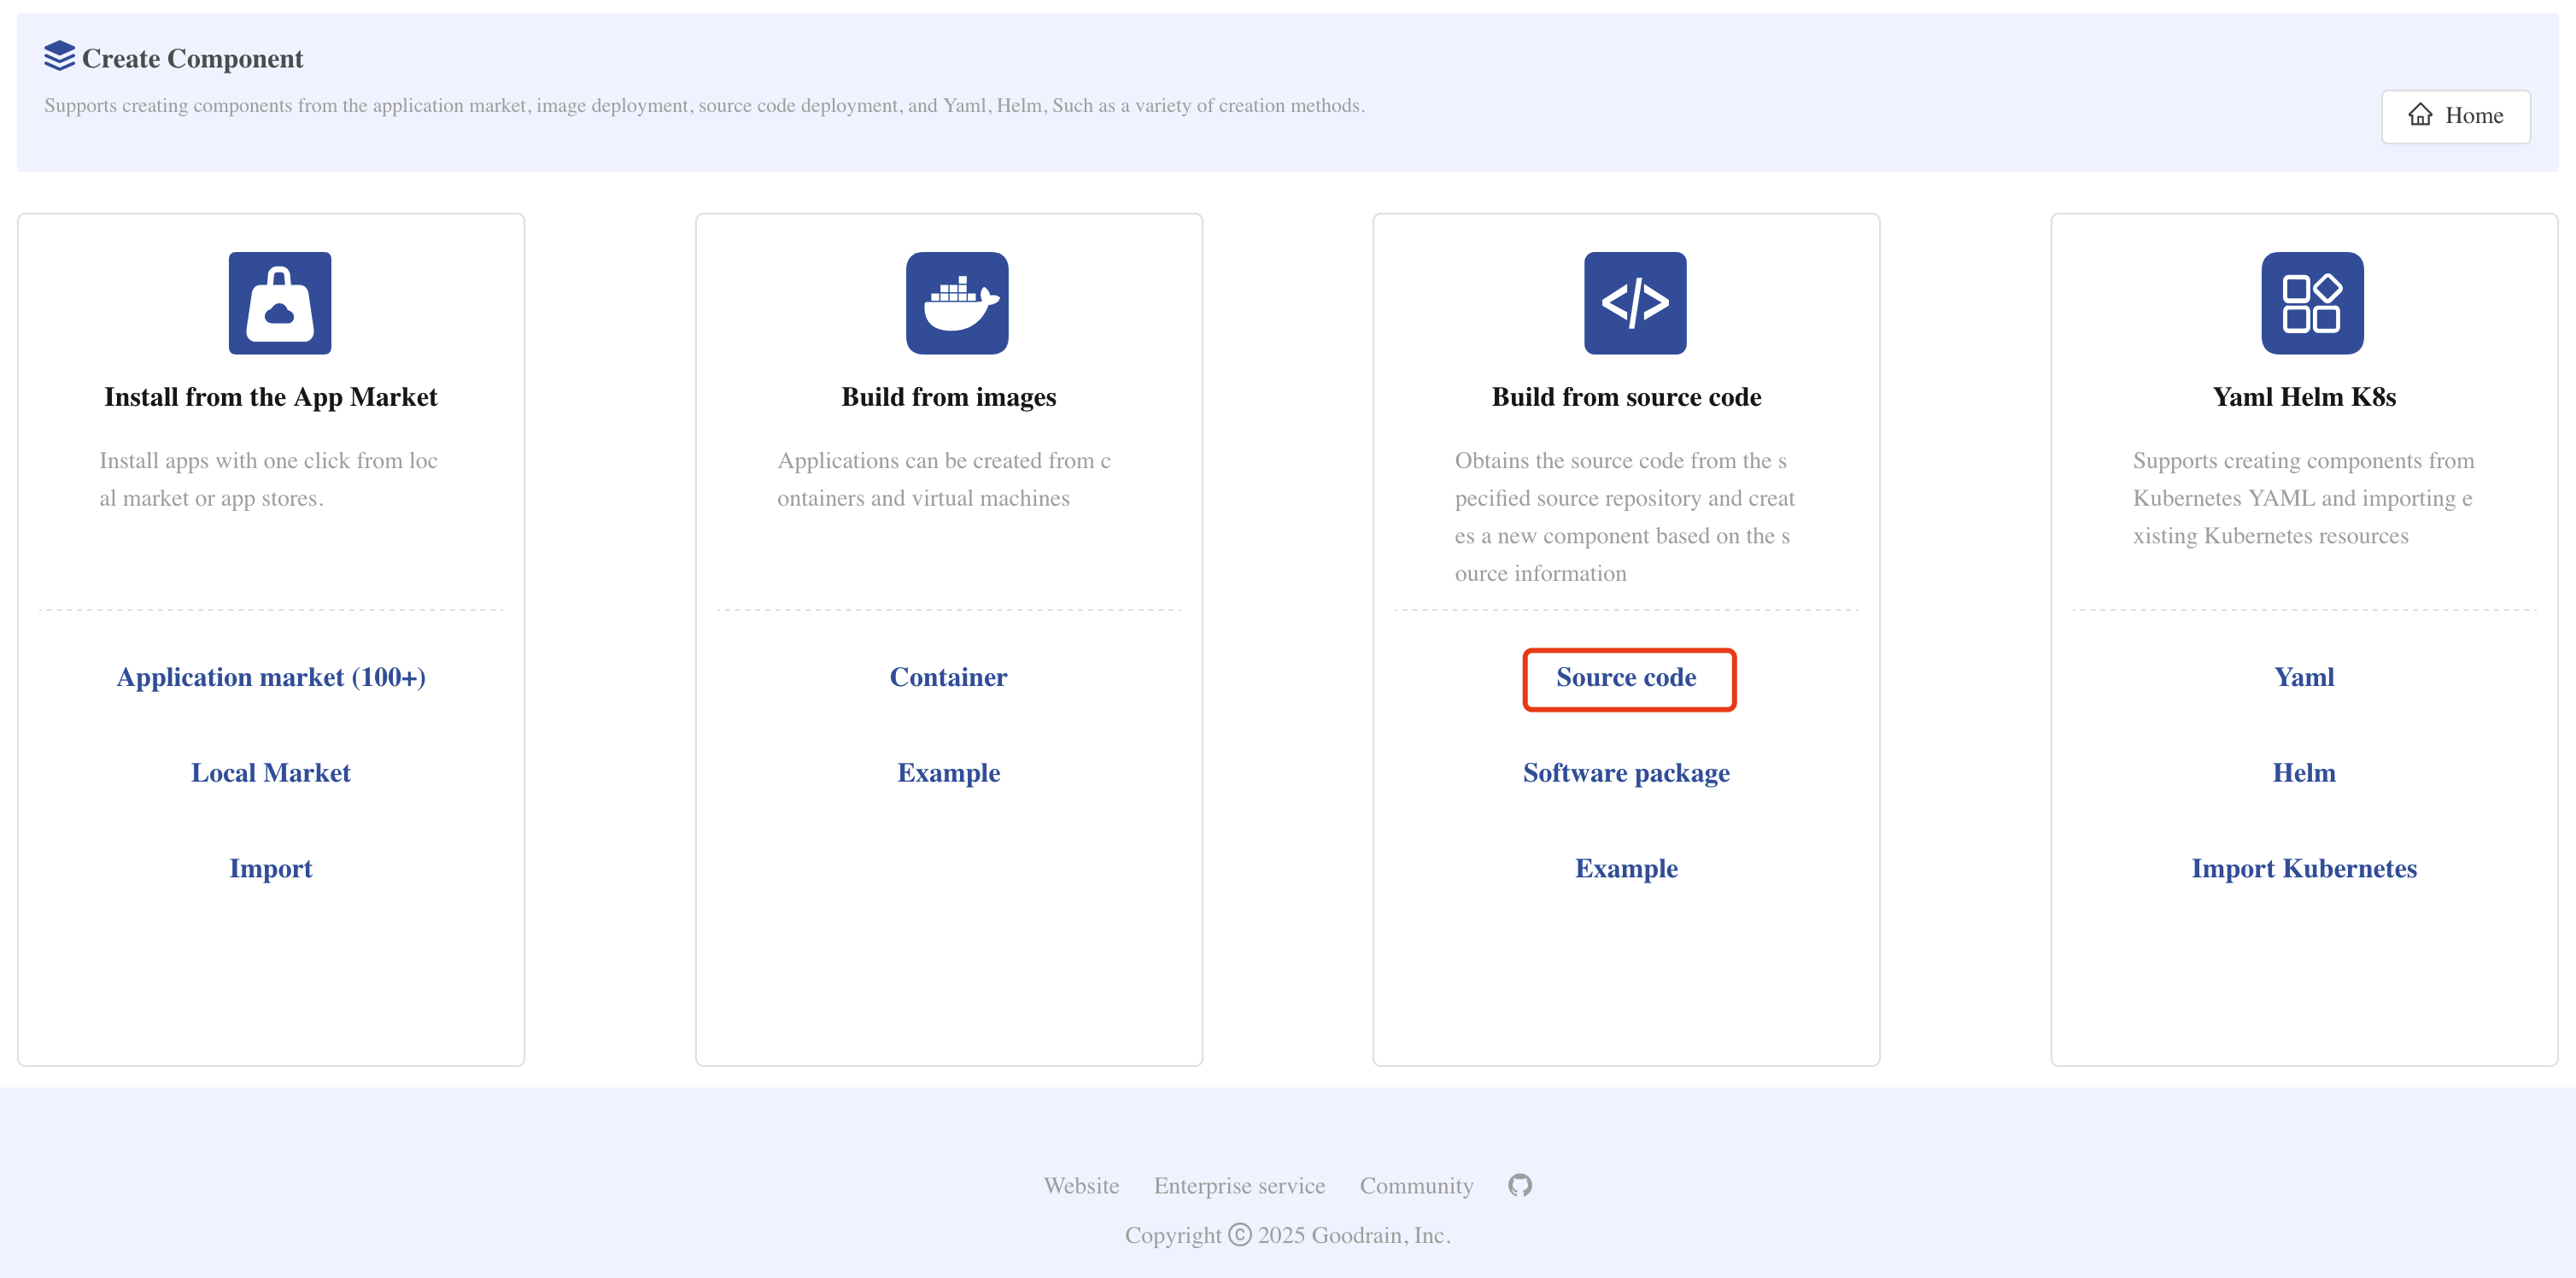
- Repository Address:
https://gitee.com/rainbond/demo-2048.git - Code Branch:
master - Component Name:
2048(customizable)
-
Click Confirm Creation.
-
Source Build Auto-detection Process
- Rainbond will automatically identify the project type as
static(static website)
- Deployment Monitoring
- Enter the application view to observe the changes in component deployment status:
- Building: Building container image from source code
- Starting: Image build completed, starting container
- Running: Application successfully deployed (shown in green)
-
Click the component to enter Operation Records to view the build logs.
-
Access Application
-
Enter the Component ➡️ Port tab to see the automatically generated access address.
-
Click the domain link to open and experience the 2048 game in your browser!
Usage Tips
- Your application has been automatically deployed in the Kubernetes cluster
- Automatically exposed through Rainbond's gateway service, no need to manually configure Ingress
- All resources (storage, network, etc.) have been automatically configured
Explore More Features
Congratulations!You have successfully deployed your first application.But this is just the beginning of Rainbond's powerful features. Next, you can try: