Microservice remote debugging, Nocalhost + Rainbond microservice development second bullet
describes how to use Nocalhost Debug to deploy microservices on Rainbond

In the previous article, we introduced how to quickly develop microservices on Rainbond through , and introduced the basic development process.
This article will continue the above introduction, using Nocalhost development configuration file to achieve the following:
- One-click Run and Remote Debug
- persistent configuration
- Development Container Resource Limits
- port forwarding
What is a development configuration?
The development configuration is carried out around development mode , such as what image to use to enter development mode, whether to enable persistence to save the content of the development container, which files to synchronize to the development container, how to debug with one click, key to run services inside the container, etc. With the correct and appropriate development configuration configured, you can be more comfortable when using Nocalhost development mode.
Deploy Rainbond + SpringCloud
Next, continue to take SpringCloud Pig as an example to debug the Pig-auth module of the Java Maven service.
Project Gitee address:https://gitee.com/zhangbigqi/pig
Deploy Rainbond
The installation of Rainbond will not be introduced in detail here, please refer to to install Rainbond based on Linux.
Deploy SpringCloud
After we connected the open source application store in Rainbond, we searched the open source application store Spring Cloud Pig installed 3.5.0version.
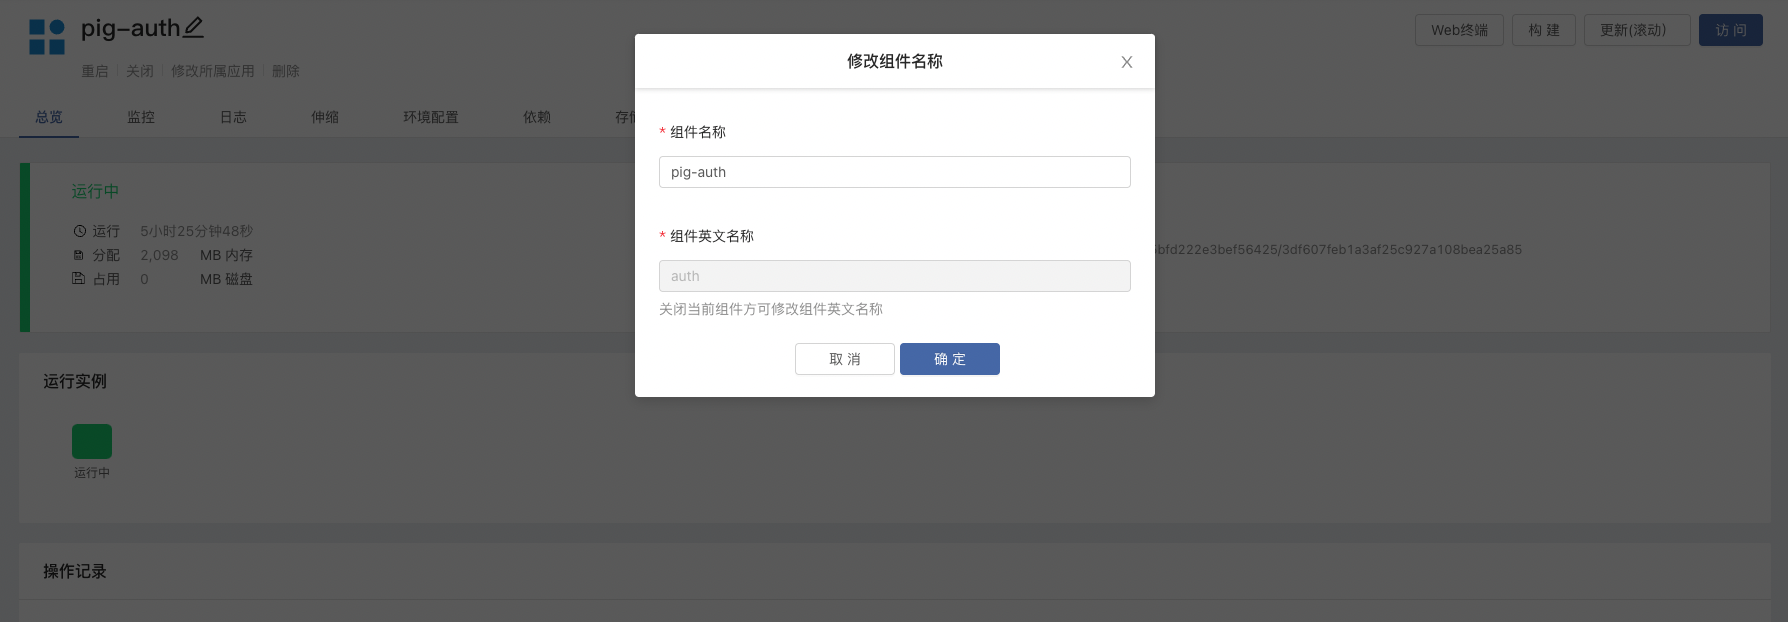
The English name of the installed application component from the application store is an automatically generated string. We need to set the English name of the component (Deployment Name). When connecting to the cluster through Nocalhost, you can clearly distinguish the component corresponding to the Deployment.
Nocalhost docks Rainbond
-
To install Nocalhost JetBrains Plugin, please refer to document Install Nocalhost JetBrains Plugin.
-
To get K8s Kubeconfig, please refer to document to get Kubeconfig file.
-
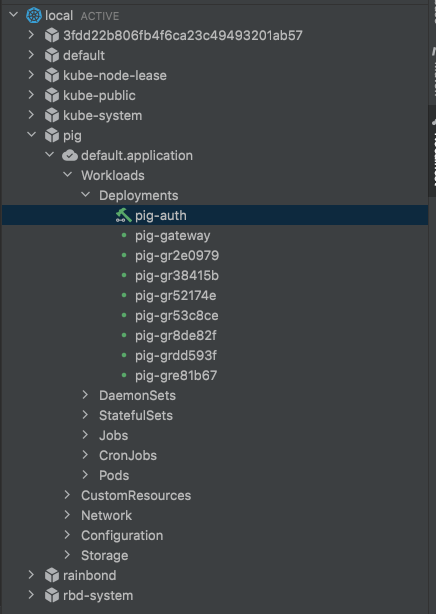
Under the
pignamespace, find the workloadpig-authright click and selectDev Config(development configuration)
- Copy the following configuration files into
Dev Config.
# Deployment Name
name: pig-auth
serviceType: deployment
containers:
    # Deployment main container name
  - name: auth
    dev:
        # Development image, which includes Java Maven environment
      image: registry.cn-hangzhou .aliyuncs.com/zqqq/maven:3.8.6-openjdk-8
      # The default terminal is bash
      shell: bash
      # StorageClass Name provided by Rainbond
      storageClass: rainbondvolumerwx
      # Configure development container resources
      resources:
        limits:
          memory: 4096Mi
          cpu: "2"
        requests:
          memory: 2048Mi
          cpu: "1"
      persistentVolumeDirs:
        # Maven depends on the package cache path, which is eaten with storageClass
        - path: /root/.m2/repository
          capacity : 10Gi
      command:
        # One-click start command, install dependent packages and start pig-auth submodule
        run:
          - mvn
          - install
          - '&&'
          - mvn
          - spring-boot:run
          - - pl
          # Specify a submodule to start
          - pig-auth
        # One-click Debug command, install dependencies and debug pig-auth submodule
        debug:
          - mvn
          - install
          - '&&'
          - mvn
          - spring -boot:run
          - -pl
          # Specify submodule startup
          - pig-auth
          # Java Debug command
          - -Dspring-boot.run.jvmArguments=-agentlib:jdwp=transport=dt_socket,server=y,suspend= y,address=5005
      debug:
        # Remote port, corresponding to addre in Debug command ss=5005
        remoteDebugPort: 5005
        # Select Java language
        language: java
      # Hot reload
      hotReload: true
      # File synchronization
      sync:
        type: send
        mode: gitIgnore
        deleteProtection: true
      # Port forwarding, forwarding container port 3000 inside to local 3999
      portForward:
        - 3999:3000
One-click Run
- Right click on workload
pig-auth. - Select Remote Run.
- Nocalhost will automatically enter DevMode and execute Remote Run.
One-click Debug
- Right click on workload
pig-auth. - Select Remote Debug.
- Nocalhost will automatically enter DevMode and perform Remote Debug.
- Put a breakpoint in the code, initiate a request, and enter the IDE Debug mode.

persistent configuration
During development, most of the files we want to persist are dependency packages logs, and Java dependency packages are also cached in this article.
rainbondvolumerwx is the storage class provided by Rainbond by default. After filling in the following configuration, a PVC will be automatically created in the current namespace, as follows:
storageClass: rainbondvolumerwx
persistentVolumeDirs:
  - path: /root/.m2/repository
    capacity: 10Gi

Container Resource Limits
Limit the resources of the development container. The limit can maximize the resource utilization of the server. It can be modified by the following development configuration:
resources:
  limits:
    memory: 4096Mi
    cpu: "2"
  requests:
    memory: 2048Mi
    cpu: "1"
port forwarding
Forward the container port to the local, you can modify:through the following development configuration
portForward:
  - 3999:3000 # Forward container port 3000 to local port 3999
at last
Of course, Nocalhost can debug multiple microservices at the same time. In the same way, you only need to modify the Deployment Name and Containers Name in the configuration file and the submodules of the microservice.
Nocalhost also has some things that are not mentioned in the development configuration text, such as:development environment variables, two modes of file synchronization pattern gitignore , etc., and Nocalhost supports multiple languages, Java is only one of them, friends can Explore on your own.
Nocalhost + Rainbond makes development and deployment more efficient and convenient.